Showing posts with label gluten free. Show all posts

Tuesday, May 8, 2012

Gluten Free Ginger Bread


About 20 years ago, I was a practicing Naturopathic doctor in Manhattan. The philosophy of naturopathy, is to feed the body the nutrients it needs to heal itself. By and part, this also means avoiding certain foods that may trigger the body to attack itself. I entered the field of natural medicine as a consequence of a debilitating ulcer. After seeing many gastroenterologists, who medicated meds that were not helping me feel any better,  I went to see a holistic practitioner.  Dr. Michael Wald- who now practices in Westchester guided me to avoid all wheat and dairy. After a couple of months on an elimination diet, I was on my way to healing my ulcer. I was fascinated by the outcome, and spent many hours in the NY Academy of Medicine researching medical documentation on how to cure an ulcer naturally.


In any event, and not to digress too much, that was the turning point in my life that led me to study naturopathy. Although, I was told by my MD's to avoid spices, ginger was my ally. Ginger has been a popular culinary spice and medicinal herb around the world for centuries, especially in Asia, India and the Middle East. It is used regularly to treat indigestion, gas and bloating, nausea, diarrhea, and irritable bowel syndrome. In fact, early references to ginger bread to treat an upset stomach has been documented from the 15th century in Sweden. Thereby this recipe....

At one time gingerbread was made with breadcrumbs and sweetened with honey, but as it made its way throughout the world it was adapted to meet the tastes of different cultures. And of course, I always love to morph a recipe to suit my culinary taste. That is why if you sample gingerbread in a country other than your own it may not look or taste as you expected. It can be a bread or a spicy sweet cake in a molded shaped. My version is gluten free- and now that you know a little about my history, you can undertand why all the recipes on this blog are gluten free. 

Akin to the original Middle Eastern recipes, English gingerbread is a dense, molasses-based, spice cake- which is the way I like it too. Some recipes add mustardpepperraisinsnutsapple, and other spices to the batter. If you want to sprinkle any of these into your version, I strongly encourage that you mix in the flavors you fancy.

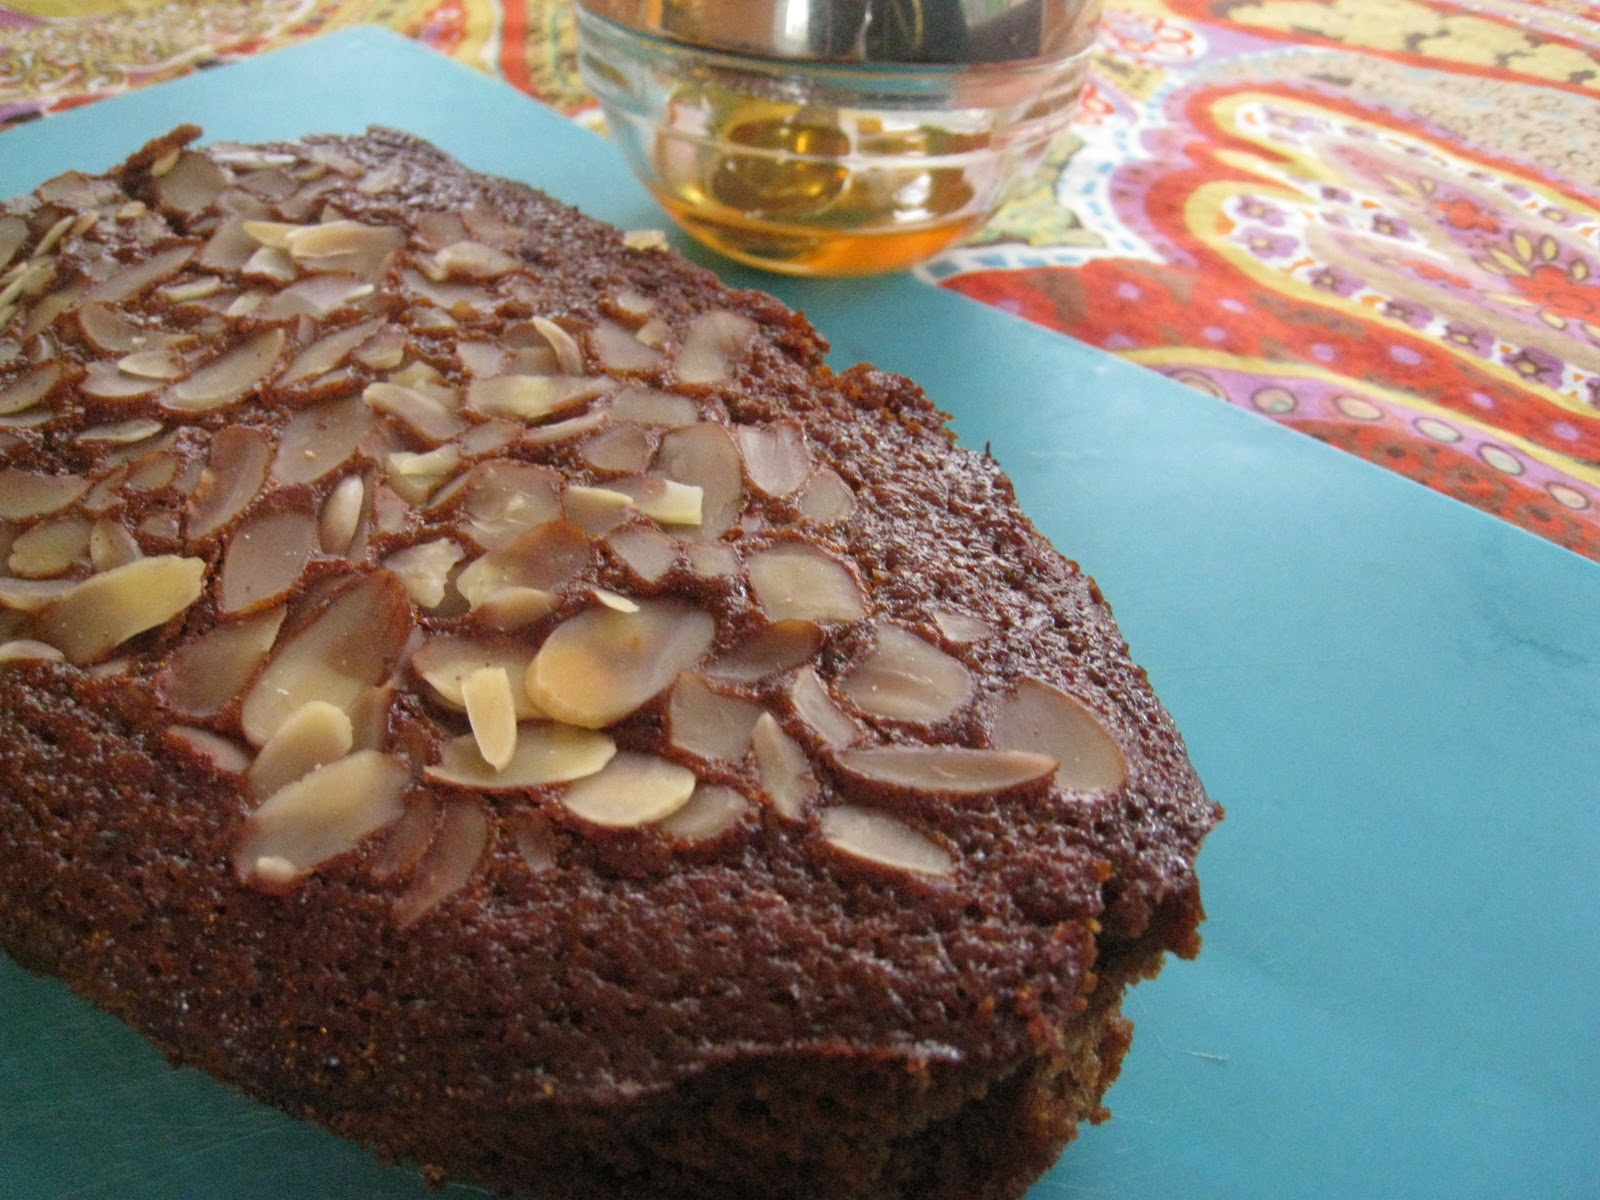
This recipes utilizes the classic method for making gingerbread, which requires melting the butter in with the molasses, and sugar before adding the dry ingredients - in this case they are gluten free. To give it some extra kick I used two forms of ginger: ground, and candied to ensure a pronounced ginger flavor. A heavy dose of other classic gingerbread spices give the cake some more dimension. These methods and ingredients together create a gingerbread that is dark, dense, a little bit sticky, and outrageously flavorful.

Serves 10

Ingredients


1/2 cup light brown sugar
6 tablespoons vegan butter (Earth Balance)
1/2 cup molasses
7 tablespoons coconut milk
1 egg, beaten
1 cup Gluten Free oat flour
1/2 cup tapioca flour
1/2 cup sweet rice flour
pinch of salt
2 teaspoons ground ginger
1 teaspoon ground cinnamon
1 teaspoon baking powder
1/4 cup crystallized ginger (optional)

Directions

  1. Preheat the oven to 325F. Lightly grease and line a 13 x 4 x 4 inch loaf pan. Place the sugar, butter, and molasses in a sauce pan and heat gently until melted and blended, stirring occasionally. 
  2. Remove the pan from the heat, let cool slightly, then mix in the coconut milk and egg.
  3. Mix the flours, salt, spices and baking powder in a large bowl.
  4. Make a well in the center, pour in the liquid mixture and beat well.
  5. Add crystalized ginger and mix into the batter, if you desire a more pronounced ginger taste.
  6. Pour the mixture into the prepared pan and bake for 40 minutes, or until firm to the touch and lightly browned.
  7. Allow to cool in the pan for a few minutes, then turn out onto a wire rack to cool completely. Store in an airtight container or wrap in foil.

Tuesday, January 10, 2012

Peach and Raspberry Crumble


Call back the summer with an old fashioned summer dessert that relies on seasonal fruits for most of its flavors. While peach and raspberry are not in season now, I actually froze them during the summer when I had an overflow of these juicy fruits.

In my cookbook that I am in process of editing, I write about the importance of seasonal eating, but I also write about how you can capture the bounty and freeze it into a time capsule for later use.

Freezing is one of the easiest, most convenient and least time consuming ways to store fruits of the season. The extreme cold slows down the changes that affect quality or cause spoilage. Freezing fruits is ideal when you will be using it for a dessert, because the texture changes and becomes softer- better for cooking than eating thawed fruits.


These little fruit jewels naturally contain a high amount of fiber, but a crumble topping with nuts add a sprinkling of whole grains and protein. The smattering of raspberries adds a bit of color and tartness to the peaches. If you don’t care for tart then use blueberries in lieu of raspberries. Serve with vanilla ice cream or yoghurt garnished with a spring of mint for added freshness.


Serves 6

Ingredients
¾ cup brown rice flour
4 tablespoons vegan butter
½ cup buckwheat flakes (or millet flakes)
¼ cup almond meal
¼ cup plus 2 tablespoons brown sugar
1-teaspoon ground cinnamon
3 fresh peaches, peeled, pitted and cubed
1-1/3 cup raspberries
4 tablespoon orange juice
2 tablespoons tapioca starch


Instructions

  1      Preheat oven to 350°F. Grease a 9-inch pie dish
    2   In a medium size bowl, place the rice flour and rub in the butter with your fingertips until the mixture resembles breadcrumbs. Stir in the buckwheat flakes, almond meal, ¼ cup sugar and cinnamon. Mix well.
    3      In the pie dish, combine the peaches, raspberries, orange juice, 2- tablespoons sugar and tapioca starch together. Sprinkle the crumble over the top, pressing it down lightly.

    4      Bake for 40 minutes or until the crumble is lightly browned. Serve warm or cold paired with your favorite ice cream. 


Tuesday, November 1, 2011

Apple Crumble

If you get a chance to do your own apple picking- do it! Driving right to the orchard, where you can set up a family picnic is an idyllic way to spend the day. Wander through the orchard with a basket in tow and breath the crisp fall air.

Apple picking is one of those familiar autumn traditions and with its bounty calls for an old-fashioned apple crumble. Easy to make and a perfect dessert to beckon the Fall season with warm baked apples.  An oat crust, that cracks audibly when you press it with your fork, sandwiches a moist apple filling in a cinnamon spiced syrupy juice.  Can be served warm with vanilla ice cream.

Serves 6

Ingredients


2 cups rolled oats
¾ cup vegan butter or 1 ½ sticks vegan butter
4 apples, peeled, cored and sliced thin (fugi or cameo)
1/2 cup brown sugar
¼ cup water
1-teaspoon ground cinnamon
½ teaspoon ground nutmeg
¼ cup crushed walnuts

1 Preheat oven to 350°F and grease a 9-inch pie pan.

2 In a bowl, combine rolled oats,  and ½ cup butter. Knead the crumble until all ingredients are mixed well.

3 Combine sliced apples with sugar, cinnamon and nutmeg.

4 Firmly pat three quarters of the dough into the pan. With finger, spread the dough out into a thin layer. The balance of the dough will be used for the crumble topping.

5 Pour apples on top of the oat crust and then the water. Cut remaining butter into pats and place over the apples. This helps to emulsify the apples when cooking. Add remaining crumble on top of the apples, firmly patting into place. It will not completely cover the apples, but that is fine. Sprinkle walnuts over the crumble and in between the gaps.

6 Bake covered for 50 minutes. Remove the cover and bake an additional 10 minutes.

7 Let cool for 30 minutes before serving.


Monday, October 24, 2011

Kale and Roasted Potato Salad


Kale is considered one of the oldest forms of cabbage, and native to the eastern Mediterranean, researchers believe it may have been grown as a food crop as early as 2000 B. C. 
Slice potatoes for roasting

Season potatoes with salt and pepper and layer with sliced onions. Drizzle with olive oil.
In order to properly prepare kale, make sure to remove the tough stem.  To do so, run your knife down either side of the center stem, pull to remove, and discard.  Then, coarsely chop the leaves into ribbons or pieces. Secondly, be sure to cook your kale until tender, but not overcooked.  This can take a little bit of getting used to, because kale takes a lot longer to cook than most greens due to it's thickness. When it's tender and turns a bright green, it's usually done.
Saute Kale

Now to this salad - which is more like a meal with the potatoes gently tossed in olive oil and roasted with sliced red onions, giving it a sweet tinge. A perfect light lunch as the weather turns colder and you need the nutrients of kale to keep your immunity strong. The kale is tossed with the potatoes, forming hefty servings once portioned out onto your plate. I like how the potatoes are a little crisp on the outside, yet not hard like a potato chip - the insides were still moist and a bit fluffy. Mixing it with tender greens coated in that tangy lemon dressing is a nice way to round out the dish. Simple, clean and a fantastic way to get in utilize my CSA share.


Serves 4


Ingredients
1 1/2 pounds potatoes, sliced 1/4" thick
1 red onion, halved and thinly sliced
1 tablespoon plus 2 teaspoons extra virgin olive oil, divided
salt and freshly ground pepper
1 pound kale
2 tablespoons lemon juice
1 tablespoon fresh grated lemon zest
1 1/2 teaspoons Dijon mustard
1 large clove of garlic, thinly sliced


Directions


  1. Preheat oven to 450 degrees.
  2. In a large bowl, toss together potatoes, onion slices and 1 tablespoon oil - season with salt and fresh ground black pepper. Spread mixture in a single layer between two baking sheets coated with cooking spray. Place into the oven and roast, flipping the potatoes and onions over halfway through, until the potatoes are brown and crisp, about 40 to 45 minutes.
  3. Trim kale and slice leaves into large pieces - rinse well and drain, leaving some water clinging to the leaves.
  4. In a small bowl, whisk together lemon juice, lemon zest and mustard.
  5. In a large skillet, heat remaining oil over medium-high. Add garlic - cook, stirring constantly, until lightly golden, about 2 minutes. Add kale and cook, stirring occasionally, until wilted, about 4 to 6 minutes. Stir in mustard mixture, tossing well to coat - cook just until heated though. Season with salt and fresh ground black pepper. Remove from the heat and toss with the roasted potato mixture to serve.


Monday, October 3, 2011

Gluten Free Autumn Honey Cake

This past week was the beginning of the Jewish New Year, known as Rosh Hashana. The holiday signifies the creation of the human world some 5772 years ago. 


A traditional way to bring on the New Year is to celebrate with sweet edible things on the table, to symbolically express their wishes for a Sweet New Year. It's still not too late to make a honey cake for the New Year, since we are supposed to be eating sweet foods until Yom Kippur- this coming Friday. This recipe for Honey cake has been passed down through the generations with tones of cinnamon, allspice and clove, which are very grounding and homey during the New Year, when family gets together for the festival.

This honey cake is moist, soft and plush with a little crisp edge topped with almond slivers for an extra crunch. Another bonus with this cake is that it can be made up to a week in advance as it preserves really well. In fact, honey is a preserving agent and allows the spices to fully develop, so actually tastes better with time.


I find it so interesting that so many Jewish communities around the world have created their own signature sweet dishes for the Sweet New year. Among Askenazi Jews there is the custom to make a sweet noodle kugel and a sweet stuffed cabbage- just to name a few. So what are your traditional dishes that you make on Rosh Hashana?

Serves 2 (9-inch) loaf pans

Ingredients


3 ½ cups All-Purpose Gluten Free Flour
4 teaspoons ground cinnamon
1-teaspoon baking powder
1-teaspoon baking soda
½ teaspoon salt
½ teaspoon ground allspice
½ teaspoon ground cloves
4 eggs
½ cup firmly packed brown sugar
1-cup vegetable oil
1-cup honey
1-cup strong brewed coffee
1 cup orange juice
¼ cup lemon juice
1-teaspoon vanilla extract
Zest of one lemon
1-cup raisins
½ cup almonds, slivered
¼ cup almonds, slivered for topping

               1    Preheat oven to 350°F
               2    In a medium size bowl, sift together the flour, cinnamon, baking powder, baking soda, salt, allspice and clove.
               3    In a separate large bowl with an electric mixer, beat the eggs, gradually adding the sugar. Beat until thick and light in color, about 5 minutes. Beat in the oil, honey, coffee, orange juice, lemon juice, vanilla extract and lemon zest. The batter will be light and fluffy. Stir flour mixture slowly into batter. Fold in raisins and then mix in ½ cup almonds.
       4       4 Oil the two loaf pans and line bottom with waxed paper. Oil again and fill each pan with batter up to one inch from the top. Bake for 45 minutes or until toothpick inserted comes out clean. Let cool 10 minutes and remove from pan.
                                                                                                                                                                                                                                                                                                                                                                                                                                                                                                                                                                                                                                                                                                                                                                                                                                                                                                     
      4   

Related Posts Plugin for WordPress, Blogger...